
DPDT Relay
A Double Pole Double Throw (DPDT) electromechanical switch for controlling high-power circuits using a low-power control signal.
Component Preview
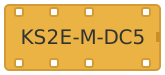 DPDT Relay
This is a standard 5V DPDT relay (like the KS2E-M-DC5). When the coil is energized, an electromagnet pulls two internal mechanical switches, allowing you to route two separate electrical signals simultaneously.
Overview
A relay is a switch operated by an electromagnet. Because the control circuit (the coil) is physically isolated from the switched circuit (the poles), it is perfectly safe to use a 5V Arduino to switch much higher voltages.
Pin Reference
| Pin | Type | Description |
|---|---|---|
| COIL1 | input | Relay Coil Terminal 1. |
| COIL2 | input | Relay Coil Terminal 2. Provide 5V across COIL1/2 to switch the relay. |
| P1 | passive | Pole 1 (Common 1). |
| NC1 | passive | Normally Closed 1. Connected to P1 when coil is OFF. |
| NO1 | passive | Normally Open 1. Connected to P1 when coil is ON. |
| P2 | passive | Pole 2 (Common 2). |
| NC2 | passive | Normally Closed 2. Connected to P2 when coil is OFF. |
| NO2 | passive | Normally Open 2. Connected to P2 when coil is ON. |
Configurable Attributes
| Attribute | Type | Default | Description |
|---|---|---|---|
| energised | boolean | false | The initial state of the relay (whether the coil starts energized). |
Working Principle
When a sufficient voltage difference (usually 5V) is applied across the COIL1 and COIL2 pins, the electromagnet engages.
- The
P1switch moves fromNC1toNO1. - The
P2switch moves fromNC2toNO2.
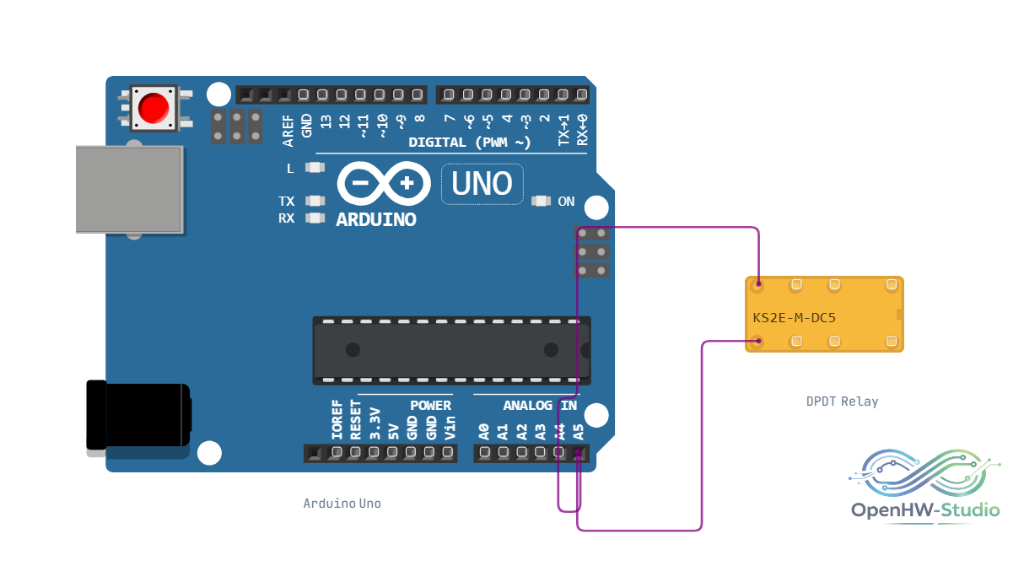
Wiring Diagram (via Transistor)
WARNING
Do not power relay coils directly from Arduino digital pins. Relays draw more current than an Arduino pin can supply and cause flyback voltage spikes. Always use a transistor (like a 2N2222) and a flyback diode.
Example Arduino Code
This code simply turns the relay on and off every second (assuming you wired a transistor to pin 8).
const int RELAY_CTRL_PIN = 8;

void setup() {
  pinMode(RELAY_CTRL_PIN, OUTPUT);
}

void loop() {
  // Energize the relay coil
  digitalWrite(RELAY_CTRL_PIN, HIGH);
  delay(1000);

  // De-energize the relay coil
  digitalWrite(RELAY_CTRL_PIN, LOW);
  delay(1000);
}
Simulation Notes
- The simulator mimics the internal mechanical switching. If you wire an LED to the
NO(Normally Open) pin, it will only light up when the relay is energized. - Unlike real life, the simulator won't literally destroy your virtual Arduino if you forget the flyback diode, but it's good practice to wire circuits correctly!