
LCD 20x4 (I2C)
A spacious 20-column by 4-row alphanumeric LCD, simplified with an I2C backpack for minimal wiring.
Component Preview
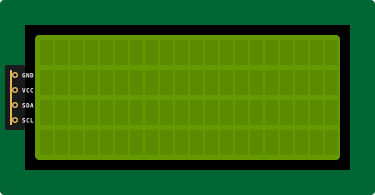 I2C 20x4 LCD
This module provides 80 total characters of display real estate (20 chars per line, 4 lines). Like its smaller 16x2 sibling, it uses a PCF8574 I2C adapter to reduce the required wiring down to just power and two data lines.
Overview
By converting parallel data to serial I2C data, the backpack module dramatically reduces wiring clutter while supporting a large display. It operates at 5V and relies on standard I2C communication to receive characters and commands from the Arduino.
Pin Reference
| Pin | Type | Description |
|---|---|---|
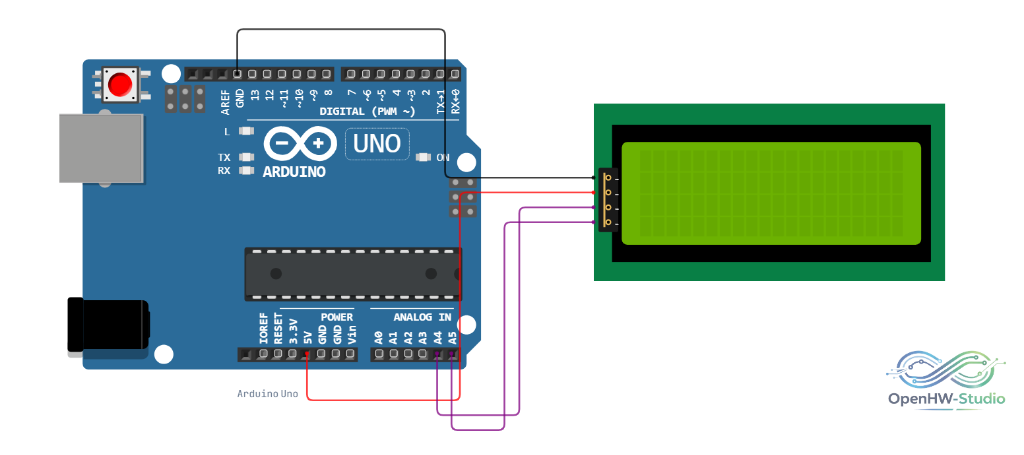
| GND | power | Ground. Connect to Arduino GND. |
| VCC | power | Power (5V). Connect to Arduino 5V. |
| SDA | bidi | I2C Data. Connect to Arduino A4 (or SDA). |
| SCL | bidi | I2C Clock. Connect to Arduino A5 (or SCL). |
Configurable Attributes
| Attribute | Type | Default | Description |
|---|---|---|---|
| i2cAddress | string | 0x27 | The I2C address of the backpack. Common addresses are 0x27 or 0x3F. |
| color | string | blue | The backlight color in the simulator (e.g., blue or green). |
Working Principle
The PCF8574 chip on the backpack receives I2C commands from the microcontroller and expands them into parallel outputs that drive the LCD pins. The LiquidCrystal_I2C library handles this translation seamlessly. Because it has 4 rows, the memory mapping in the HD44780 controller is slightly different from the 16x2, but the library abstractions hide this complexity.
Wiring Diagram
Example Arduino Code
Install the LiquidCrystal I2C library via the Library Manager before running this sketch. Note that the initialization specifies 20, 4.
#include <Wire.h>
#include <LiquidCrystal_I2C.h>

// Set the LCD address to 0x27 for a 20 chars and 4 line display
LiquidCrystal_I2C lcd(0x27, 20, 4);

void setup() {
  // Initialize the LCD
  lcd.init();

  // Turn on the backlight
  lcd.backlight();

  // Print messages on all 4 lines
  lcd.setCursor(0, 0);
  lcd.print("OpenHW Studio!");

  lcd.setCursor(0, 1);
  lcd.print("20x4 I2C Display");

  lcd.setCursor(0, 2);
  lcd.print("Line 3 is here");

  lcd.setCursor(0, 3);
  lcd.print("Line 4 is at bottom");
}

void loop() {
  // Do nothing
}
Simulation Notes
- The default I2C address in the simulator is
0x27. - Ensure you pass
20, 4to the library constructor instead of16, 2. If you pass16, 2, the text on rows 3 and 4 may render incorrectly or not at all.